Robo-Skirt
A quick how-to on the retro-style robot skirt I made for HRI 2024!

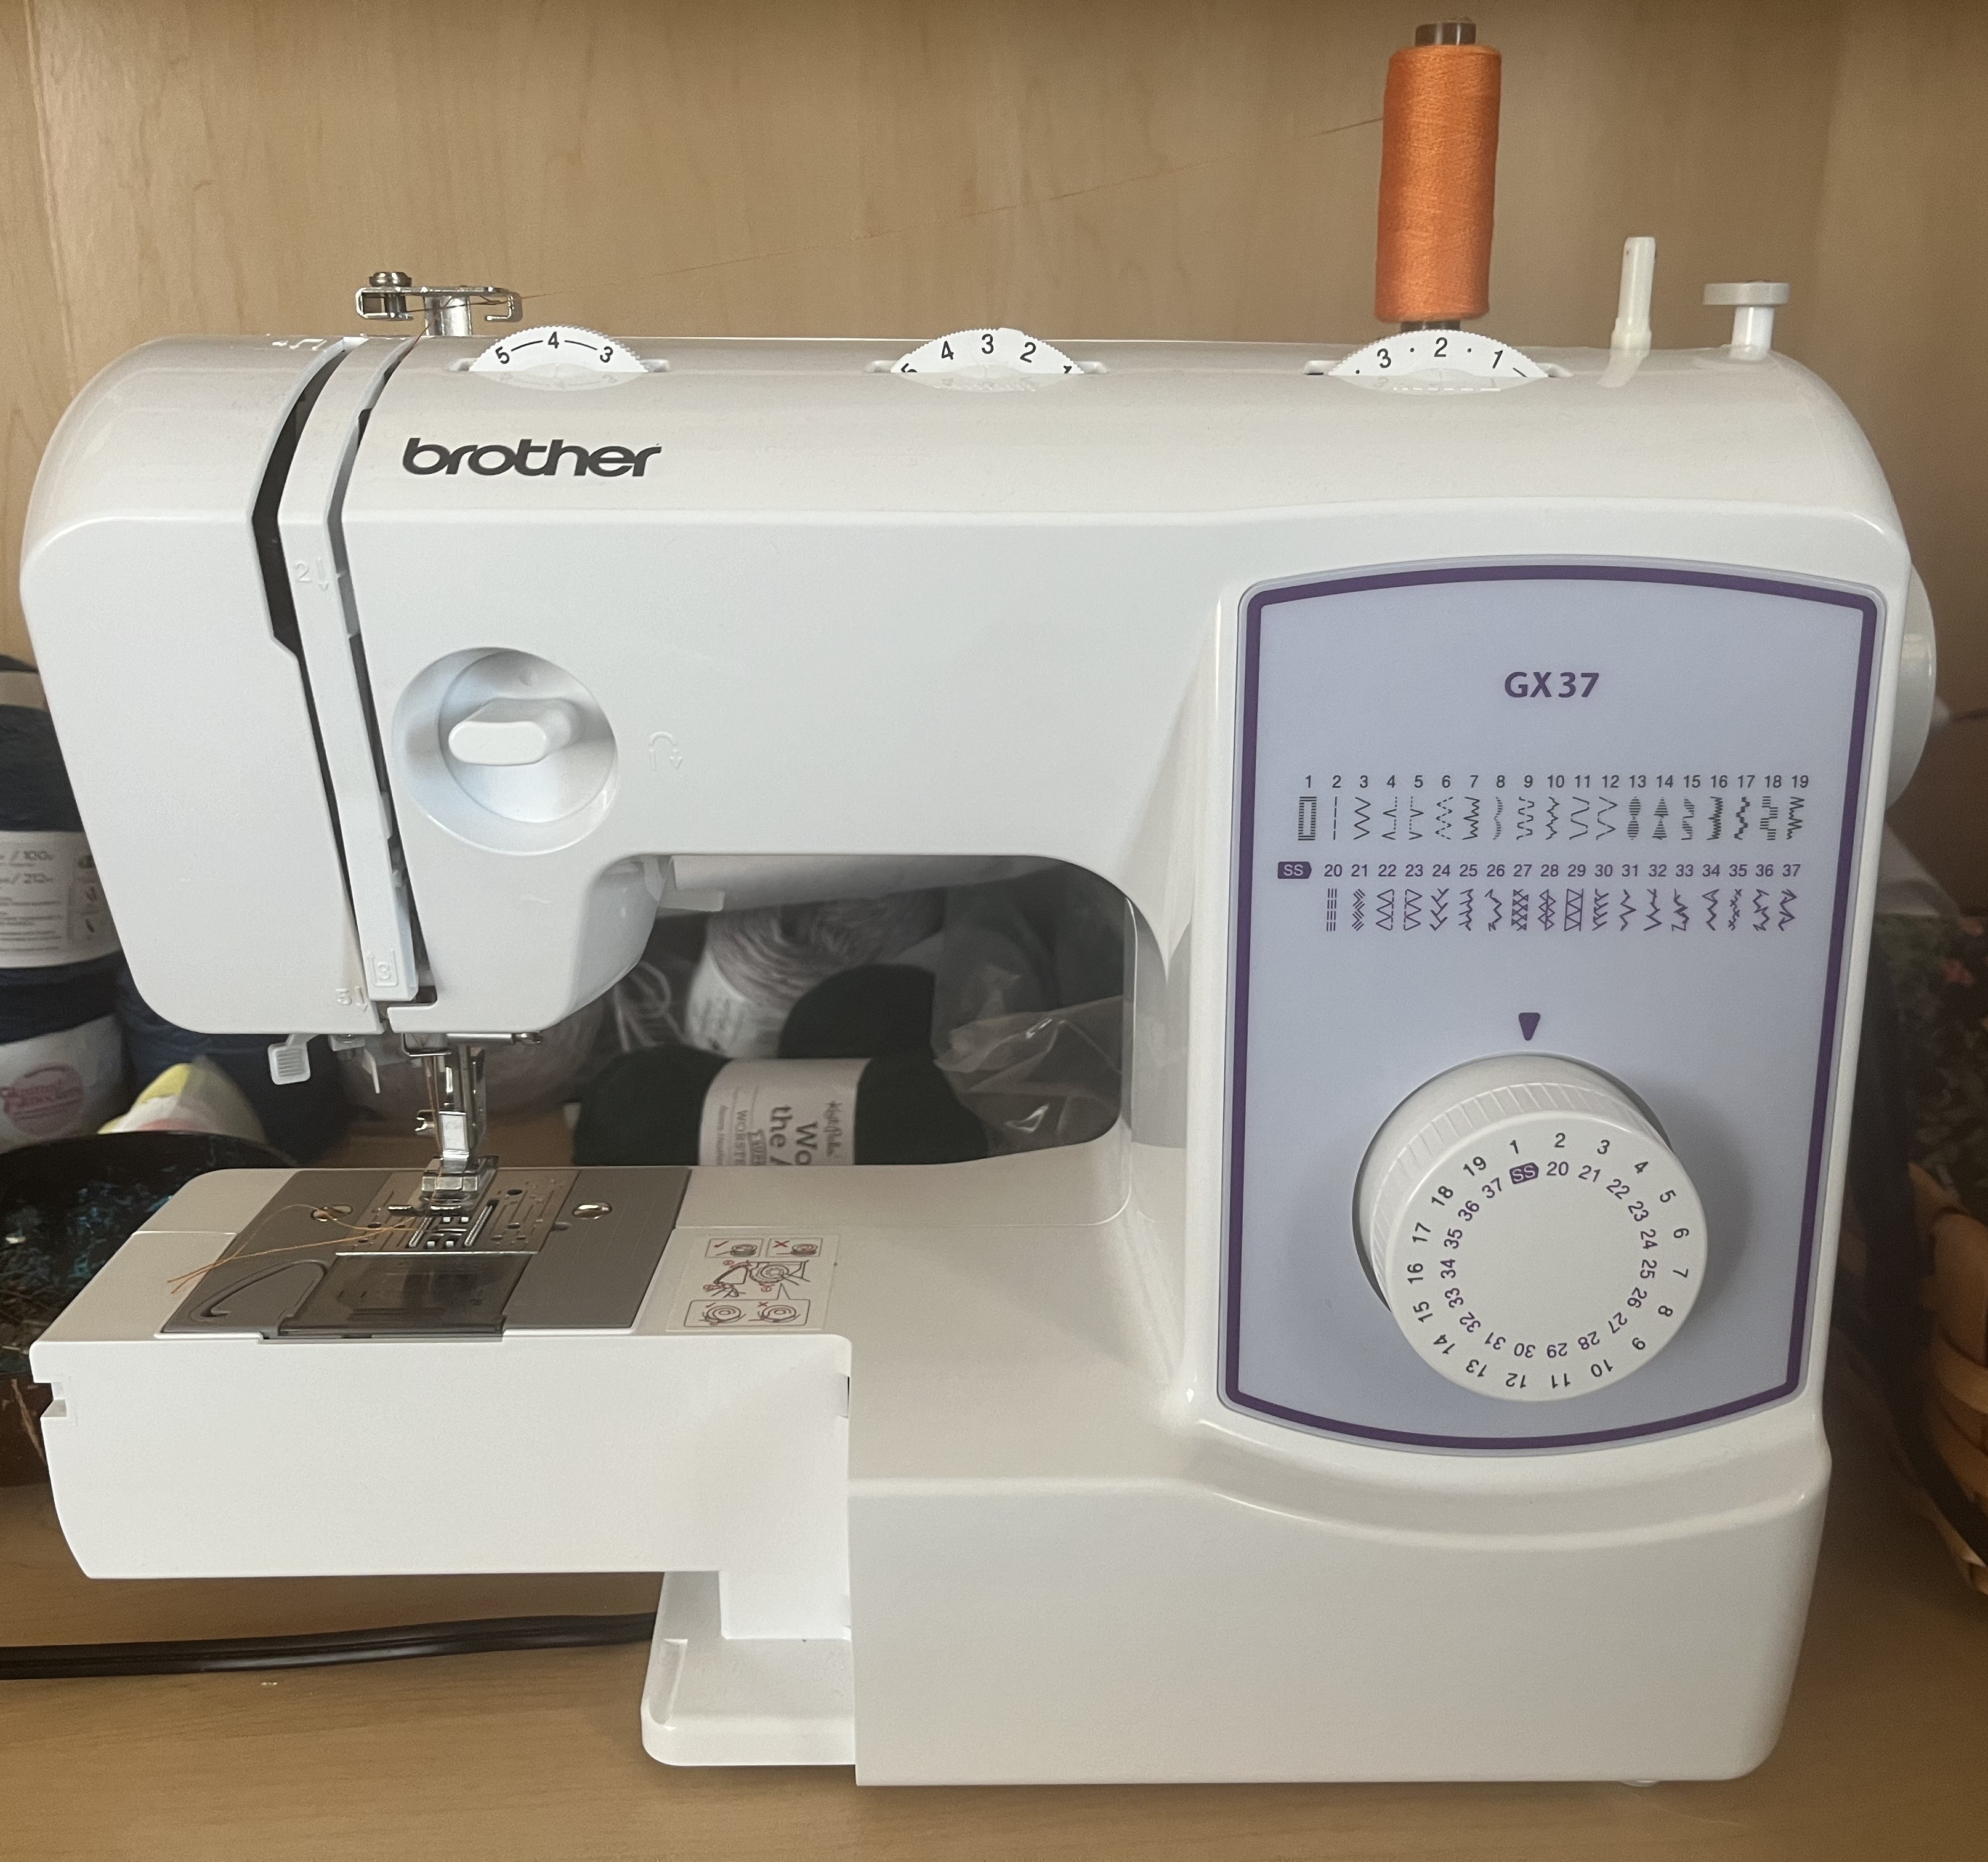
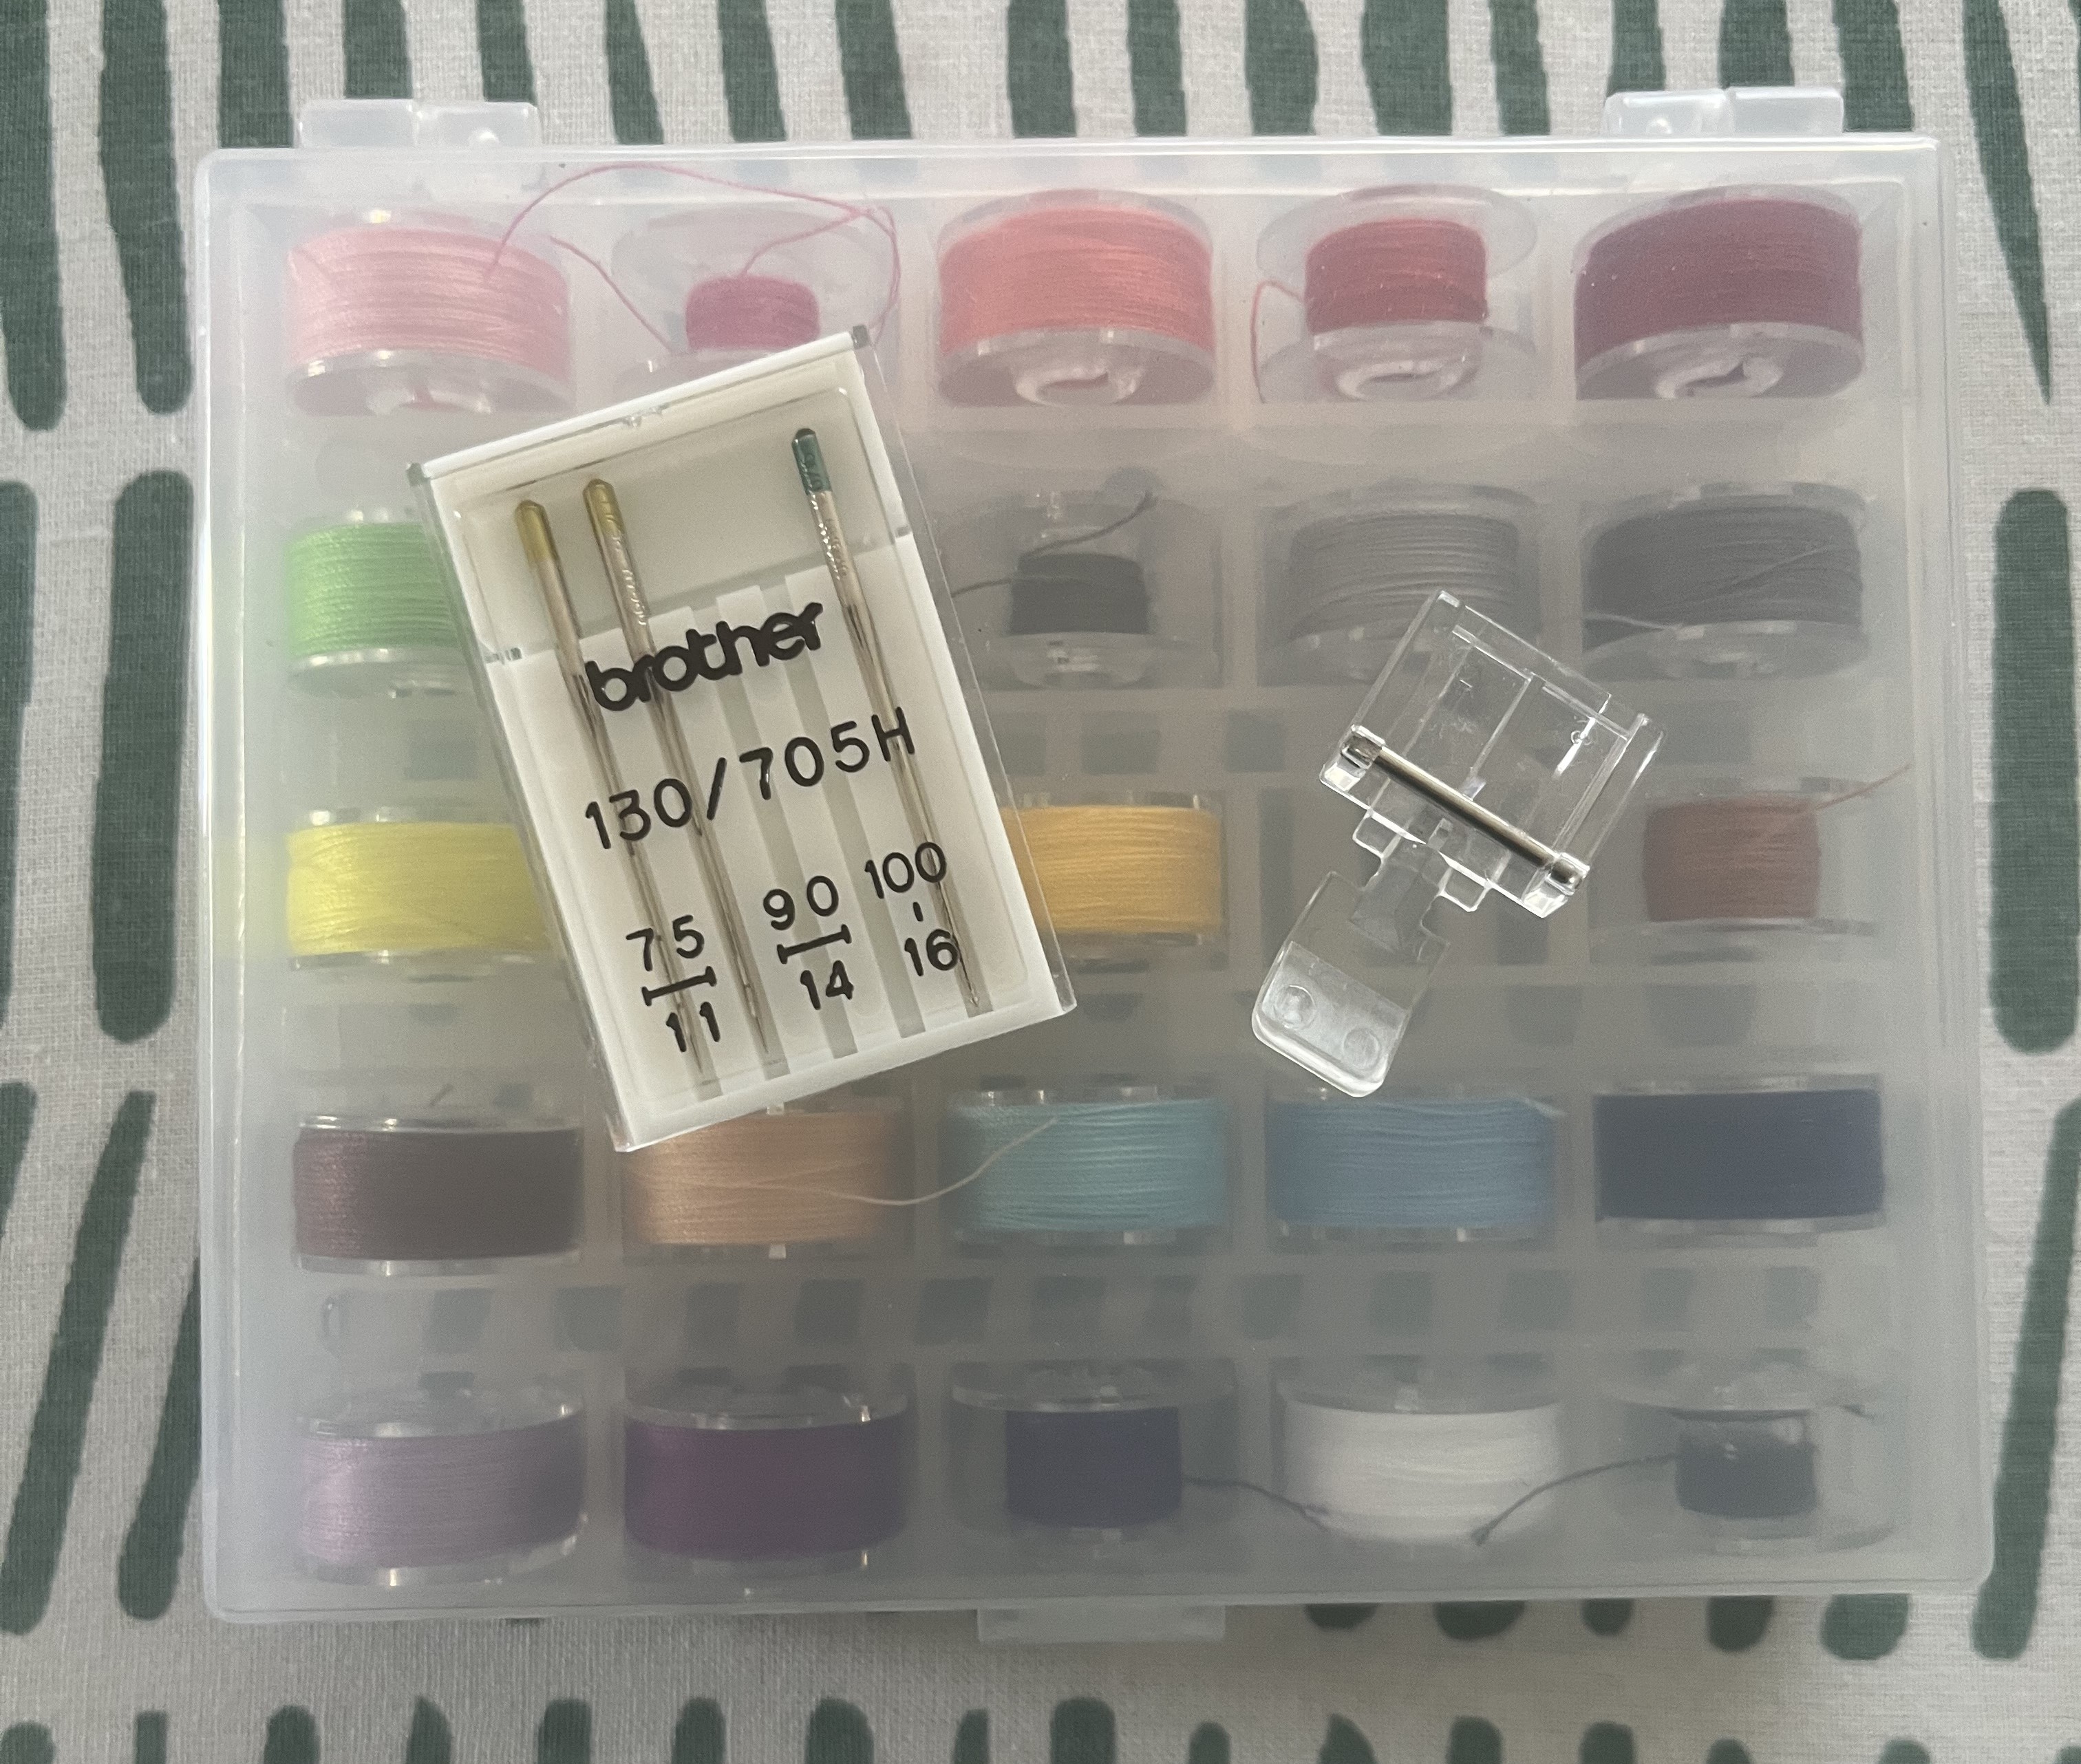
Like many people, at the start of Covid I bought a sewing machine, optimistic that I would use my time in lockdown to become an amazing sewist. That didn’t happen. I crocheted a lot, learned to knit and embroider, but to be honest, I was a little scared of my sewing machine. It sat on my craft table, making me anxious, until finally, last fall, I plucked up the courage to use it. 45 minutes and a mild breakdown later (emoji here), I had figured it out. I tried my hand at pillowcases first, learning how to attach zippers (and change out the machine’s foot!), until finally deciding I was ready to try my hand at something harder - a skirt.
With HRI on the horizon, I joked one day at the lab about making a robot-print skirt to wear during the conference. Then, I looked up fabric. You know, as a joke. I thought about it for a week or two, until deciding to just go for it. Why? Because life is short and there’s a shocking dearth of robot-related apparel and accessories for women out there. (Seriously, google it! There’s only a few things out there, most of them not great. Though if you find cute BB-8 jewelry PLEASE email me a link.)
So, channeling my inner Ms. Frizzle, I embarked on my robo-skirt journey. I’ve documented it here because I think making fun clothes to show off your interests is fun and I’m working on sharing my interests without fear of judgement. So! Without further ado:
I started a few weeks out, and made a mock-up in the cheapest cotton that Joanns sells, because I was nervous about totally messing it up when trying to do it with my fancy fabric. This was the right move. (Though if you’re a more experienced sewist you obviously should skip that.)
Materials:
- 7 yds of robot-patterned cotton lawn from Spoonflower
- ¼ of a yd of cotton fabric from Joann's for the waistband
- hook and bar closure
- black thread
- interfacing
- hidden zipper (pattern says 7in, I bought whichever one had 7 in in the range)
- sewing machine (or hand sew, you do you)
- Charm Patterns by Gertie double circle skirt pattern (made some small modifications)
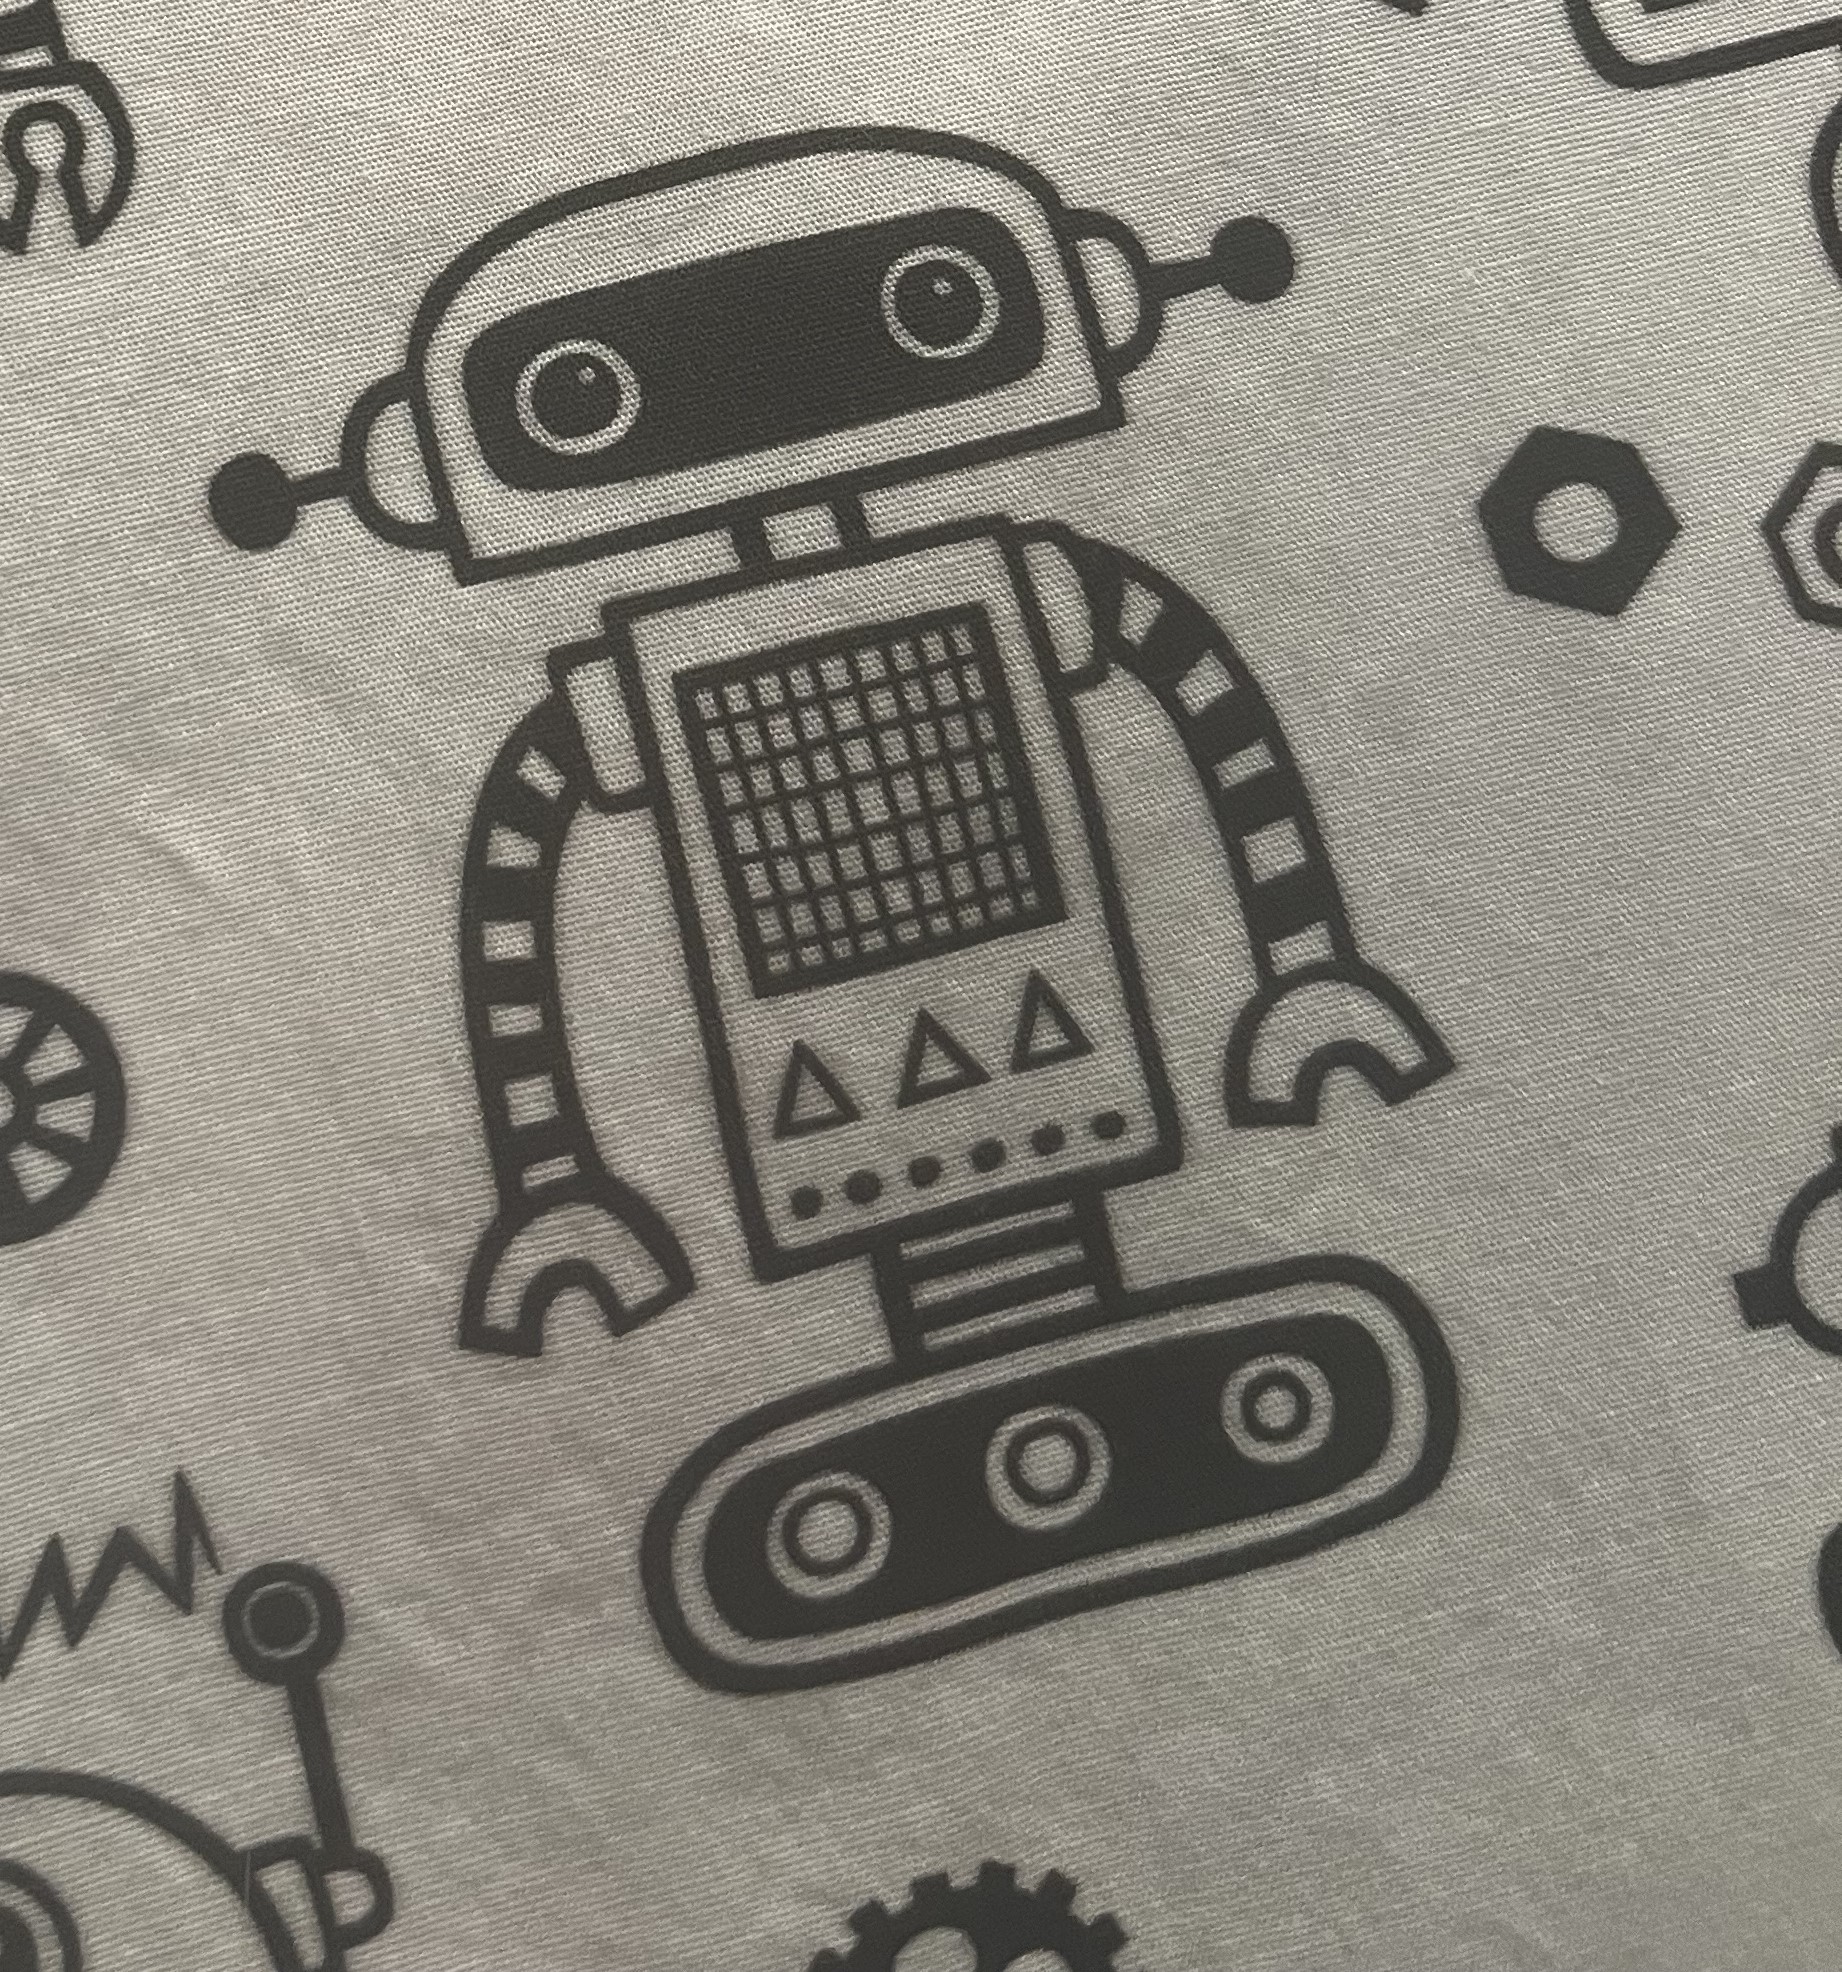
Because of the direction of the robot pattern, I had to do the piecing a little bit wonky. It was way harder than I anticipated, and totally sucked. The other big change I made was to do the pockets in a plain white cotton, and also to make the pockets way bigger. That’s not to say that the pockets as written are small - they’re a great size for women’s clothing! My ideal pocket size on skirts and dresses is one that is large enough to comfortably fit a Nintendo Switch. A Switch will fit in the original pockets, but it is a bit of a snug fit.
Other than needing two panels to form the semi-circles (because robot patterns), I followed the pattern exactly other than for the zipper and waistband. When I did my mockup with plain cotton, I found the zipper as written to be a little short for my preference. I recommend playing around with it a bit to see what zipper length works best for you. I didn’t do that, because I’m lazy and was in a bit of a time crunch, so the zipper on the Robo-skirt is now too long for my preference. [insert facepalm emoji here] Because the skirt was patterned, I decided to use an accent color for the waistband, which I feel was definitely the right move, as it adds a nice pop of solid color at the waist. I used basic Joanns black cotton, and it worked well. The pattern says you can do bias tape, which would probably be easier now that I’ve used bias tape. If you can find super wide bias tape, it would probably look the same.
Tricky bits:
- Lapped waistband (though this was my first time doing it) Follow all recommendations for ironing and TRIPLE CHECK that it looks right before sewing the zipper!!
- Getting the waistband to line up right with the skirt
Tips for beginners like me:
- Using a zipper foot may seem daunting, but it’s not as hard as it looks. I practiced by making a few zippered pillowcases for my couch, and that was more than enough practice to feel super confident doing the zipper on the skirt.
- Lapping the waistband was tricky, and I didn’t get it totally right on my plain cotton mockup. Measuring multiple times to be sure, as well as ironing and pinning made this easier for the Robo-skirt. Don’t skip ironing!!
- Lining up the body of the skirt with the waistband was also tricky, as there’s not a lot of ways to make sure that the skirt body is distributed evenly. I marked the waistband with chalk after measuring the full length and dividing it up, so I could match the seams of the skirt body up with the chalk lines first, to ensure a more even fabric distribution. It didn’t take much time at all, and it definitely paid off.
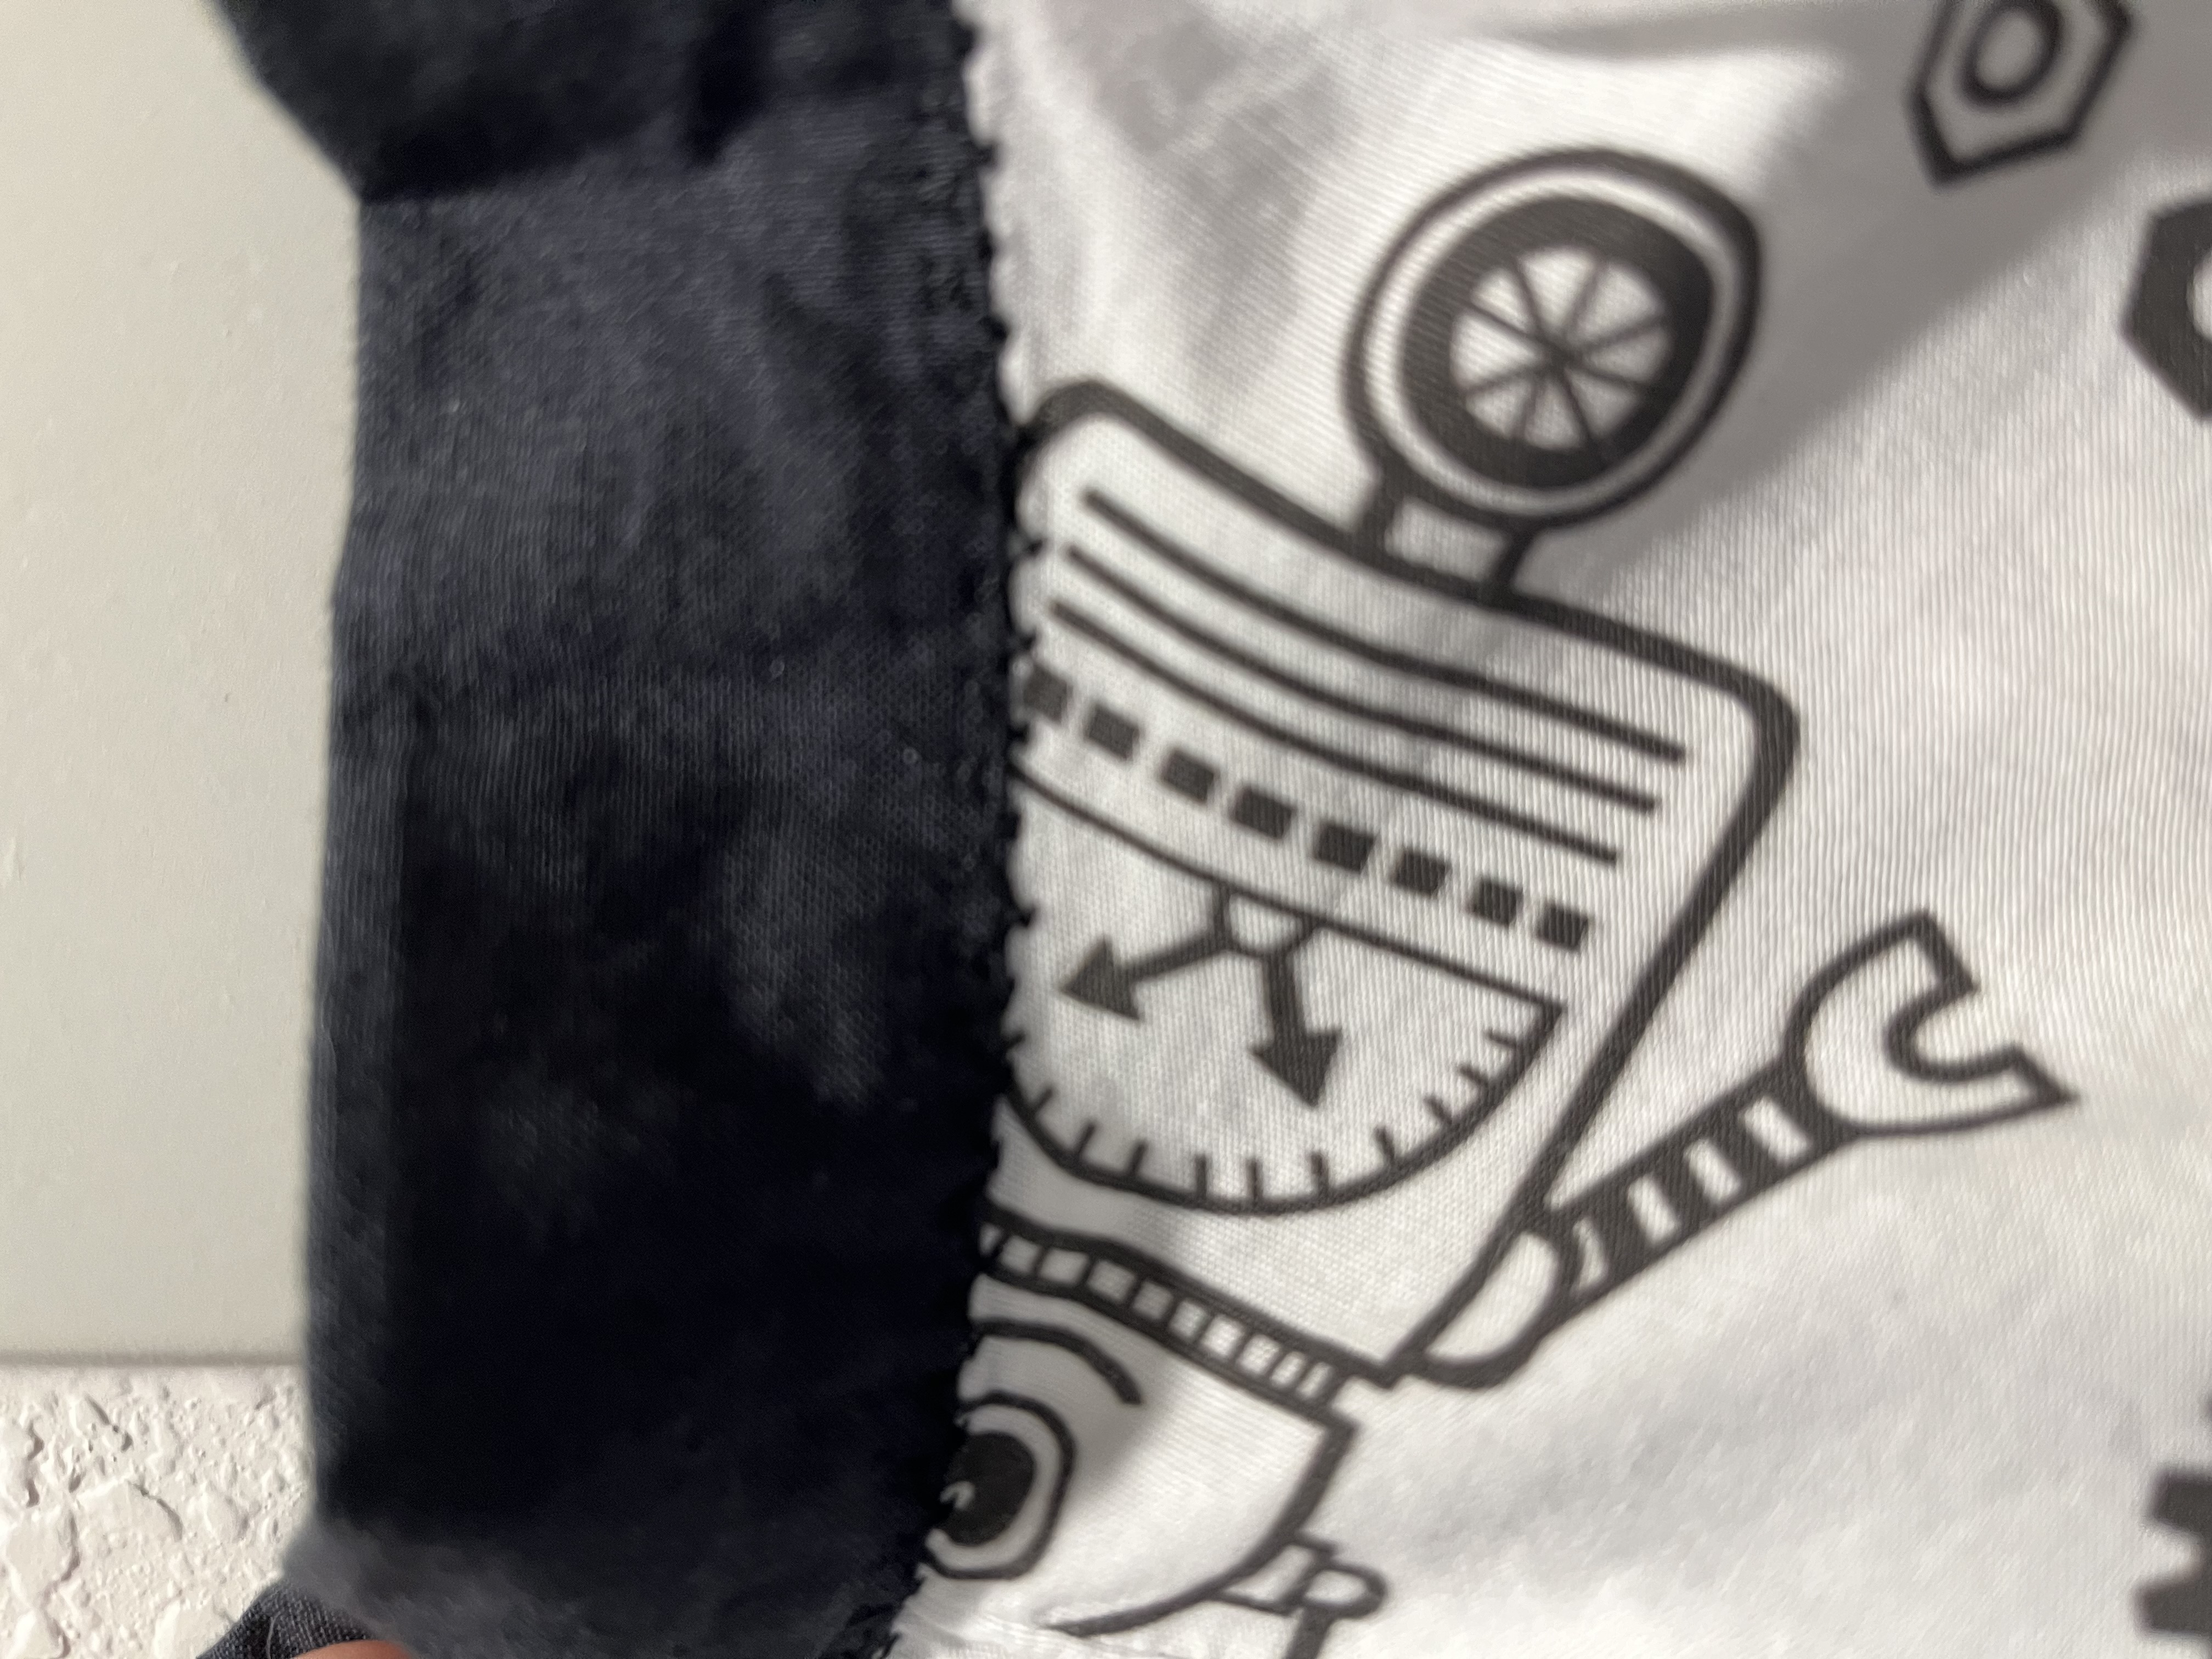
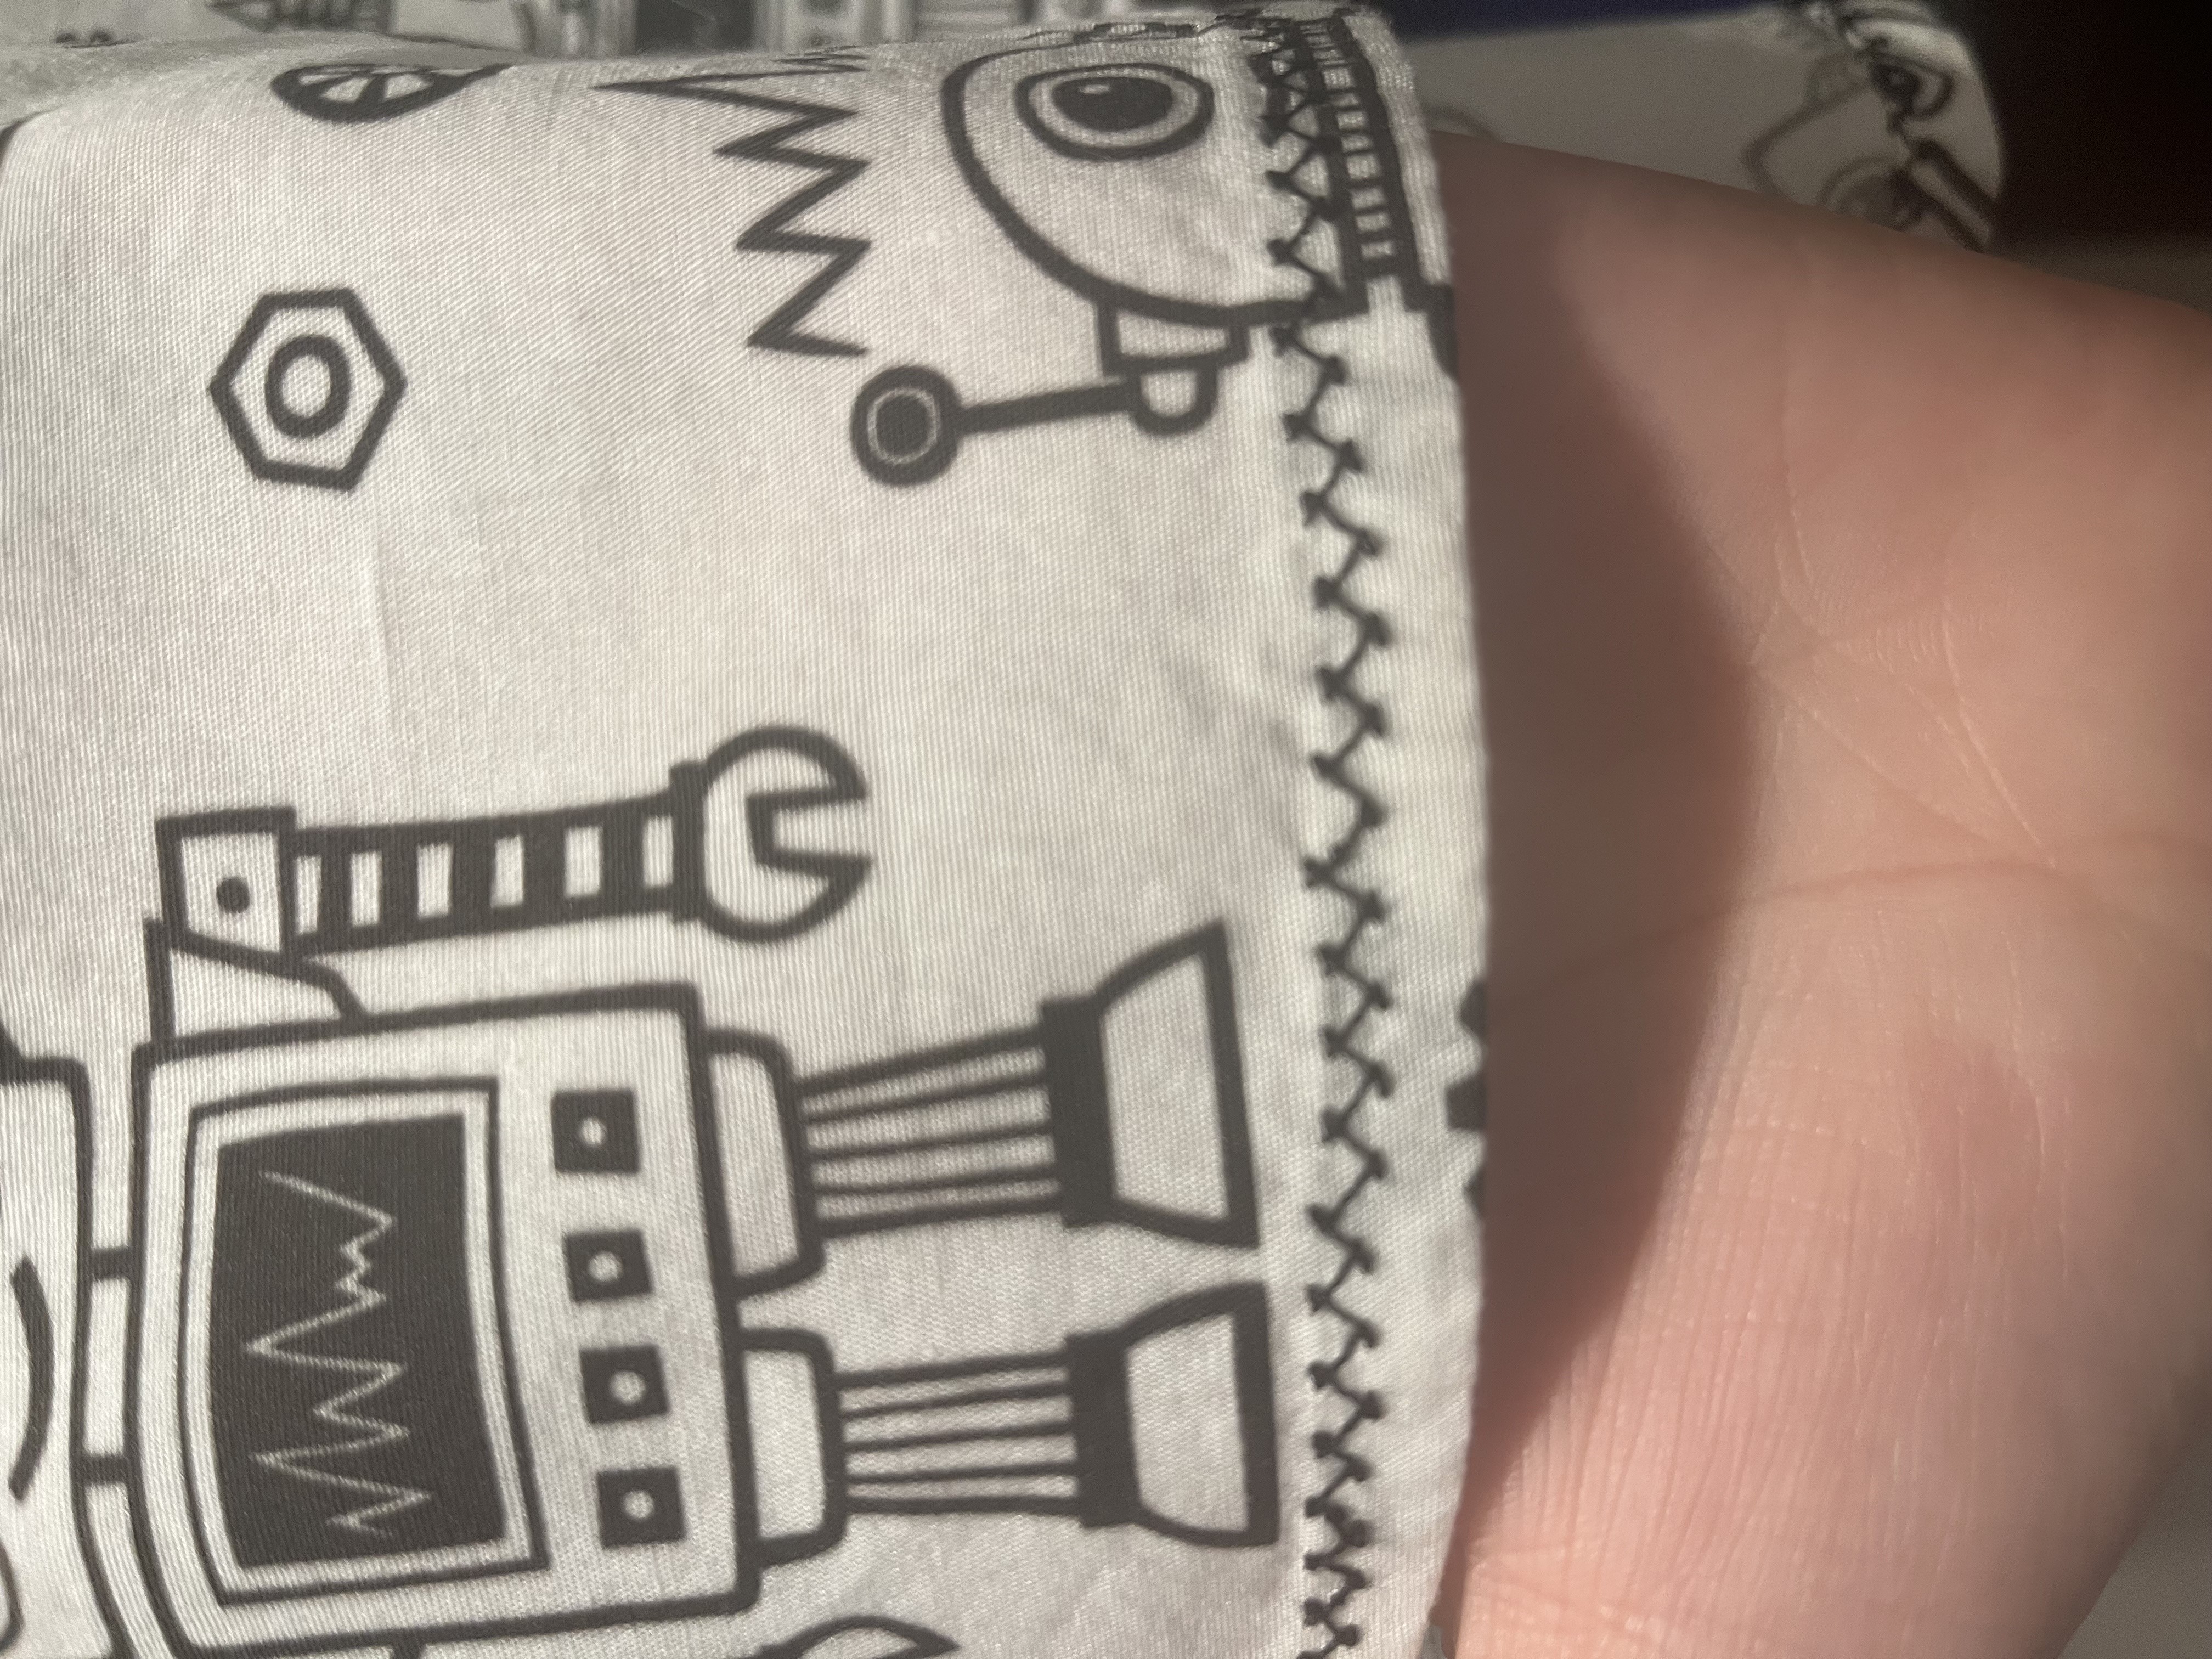
As a beginner, stitching in the ditch for the waistband was a bit tricky for me. Using a decorative stitch that was a bit wider gave me a little bit of wiggle room (and it looks super cute!).
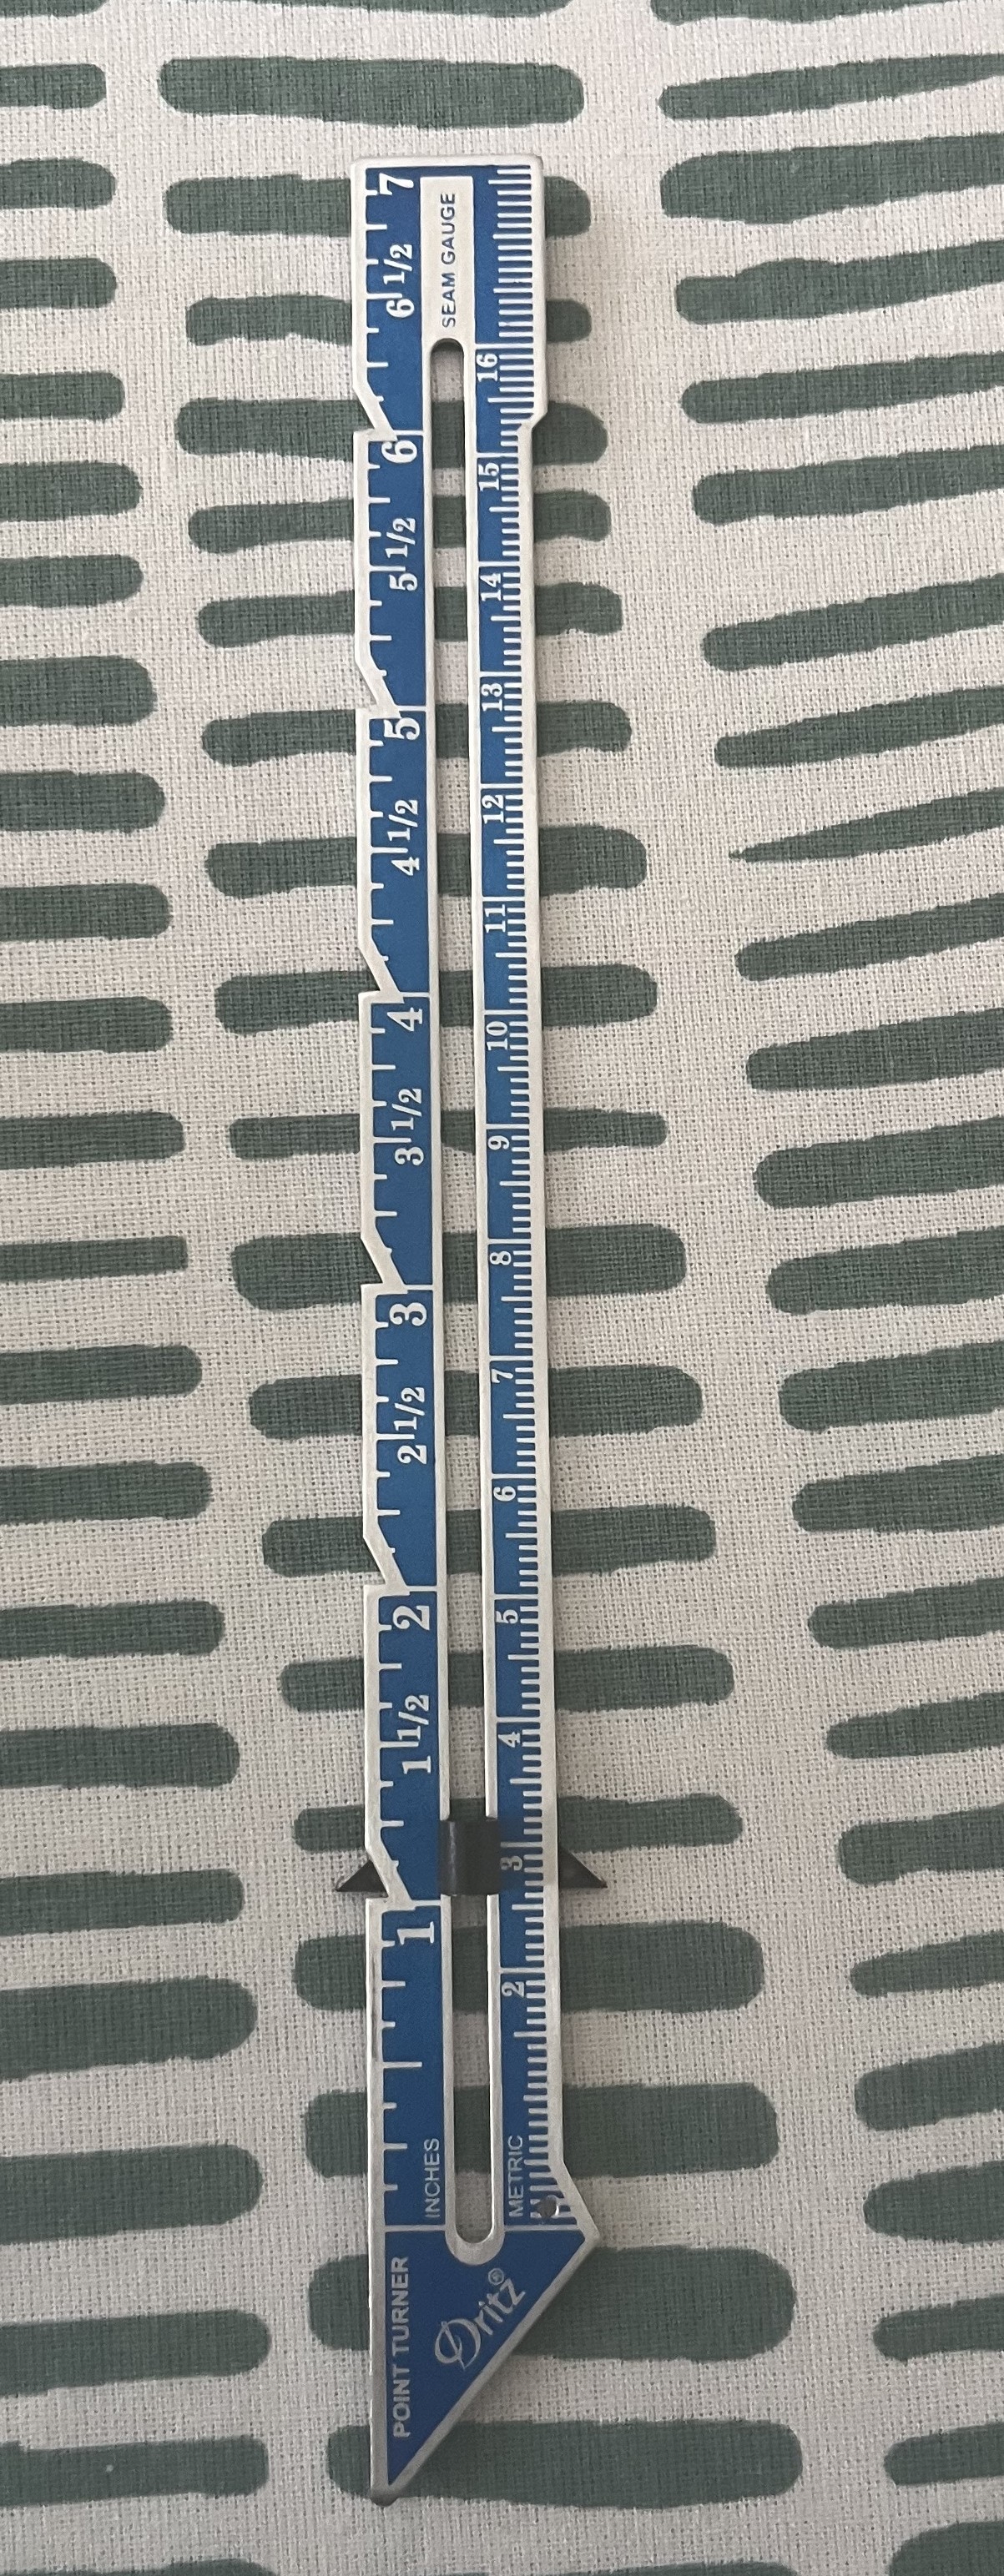
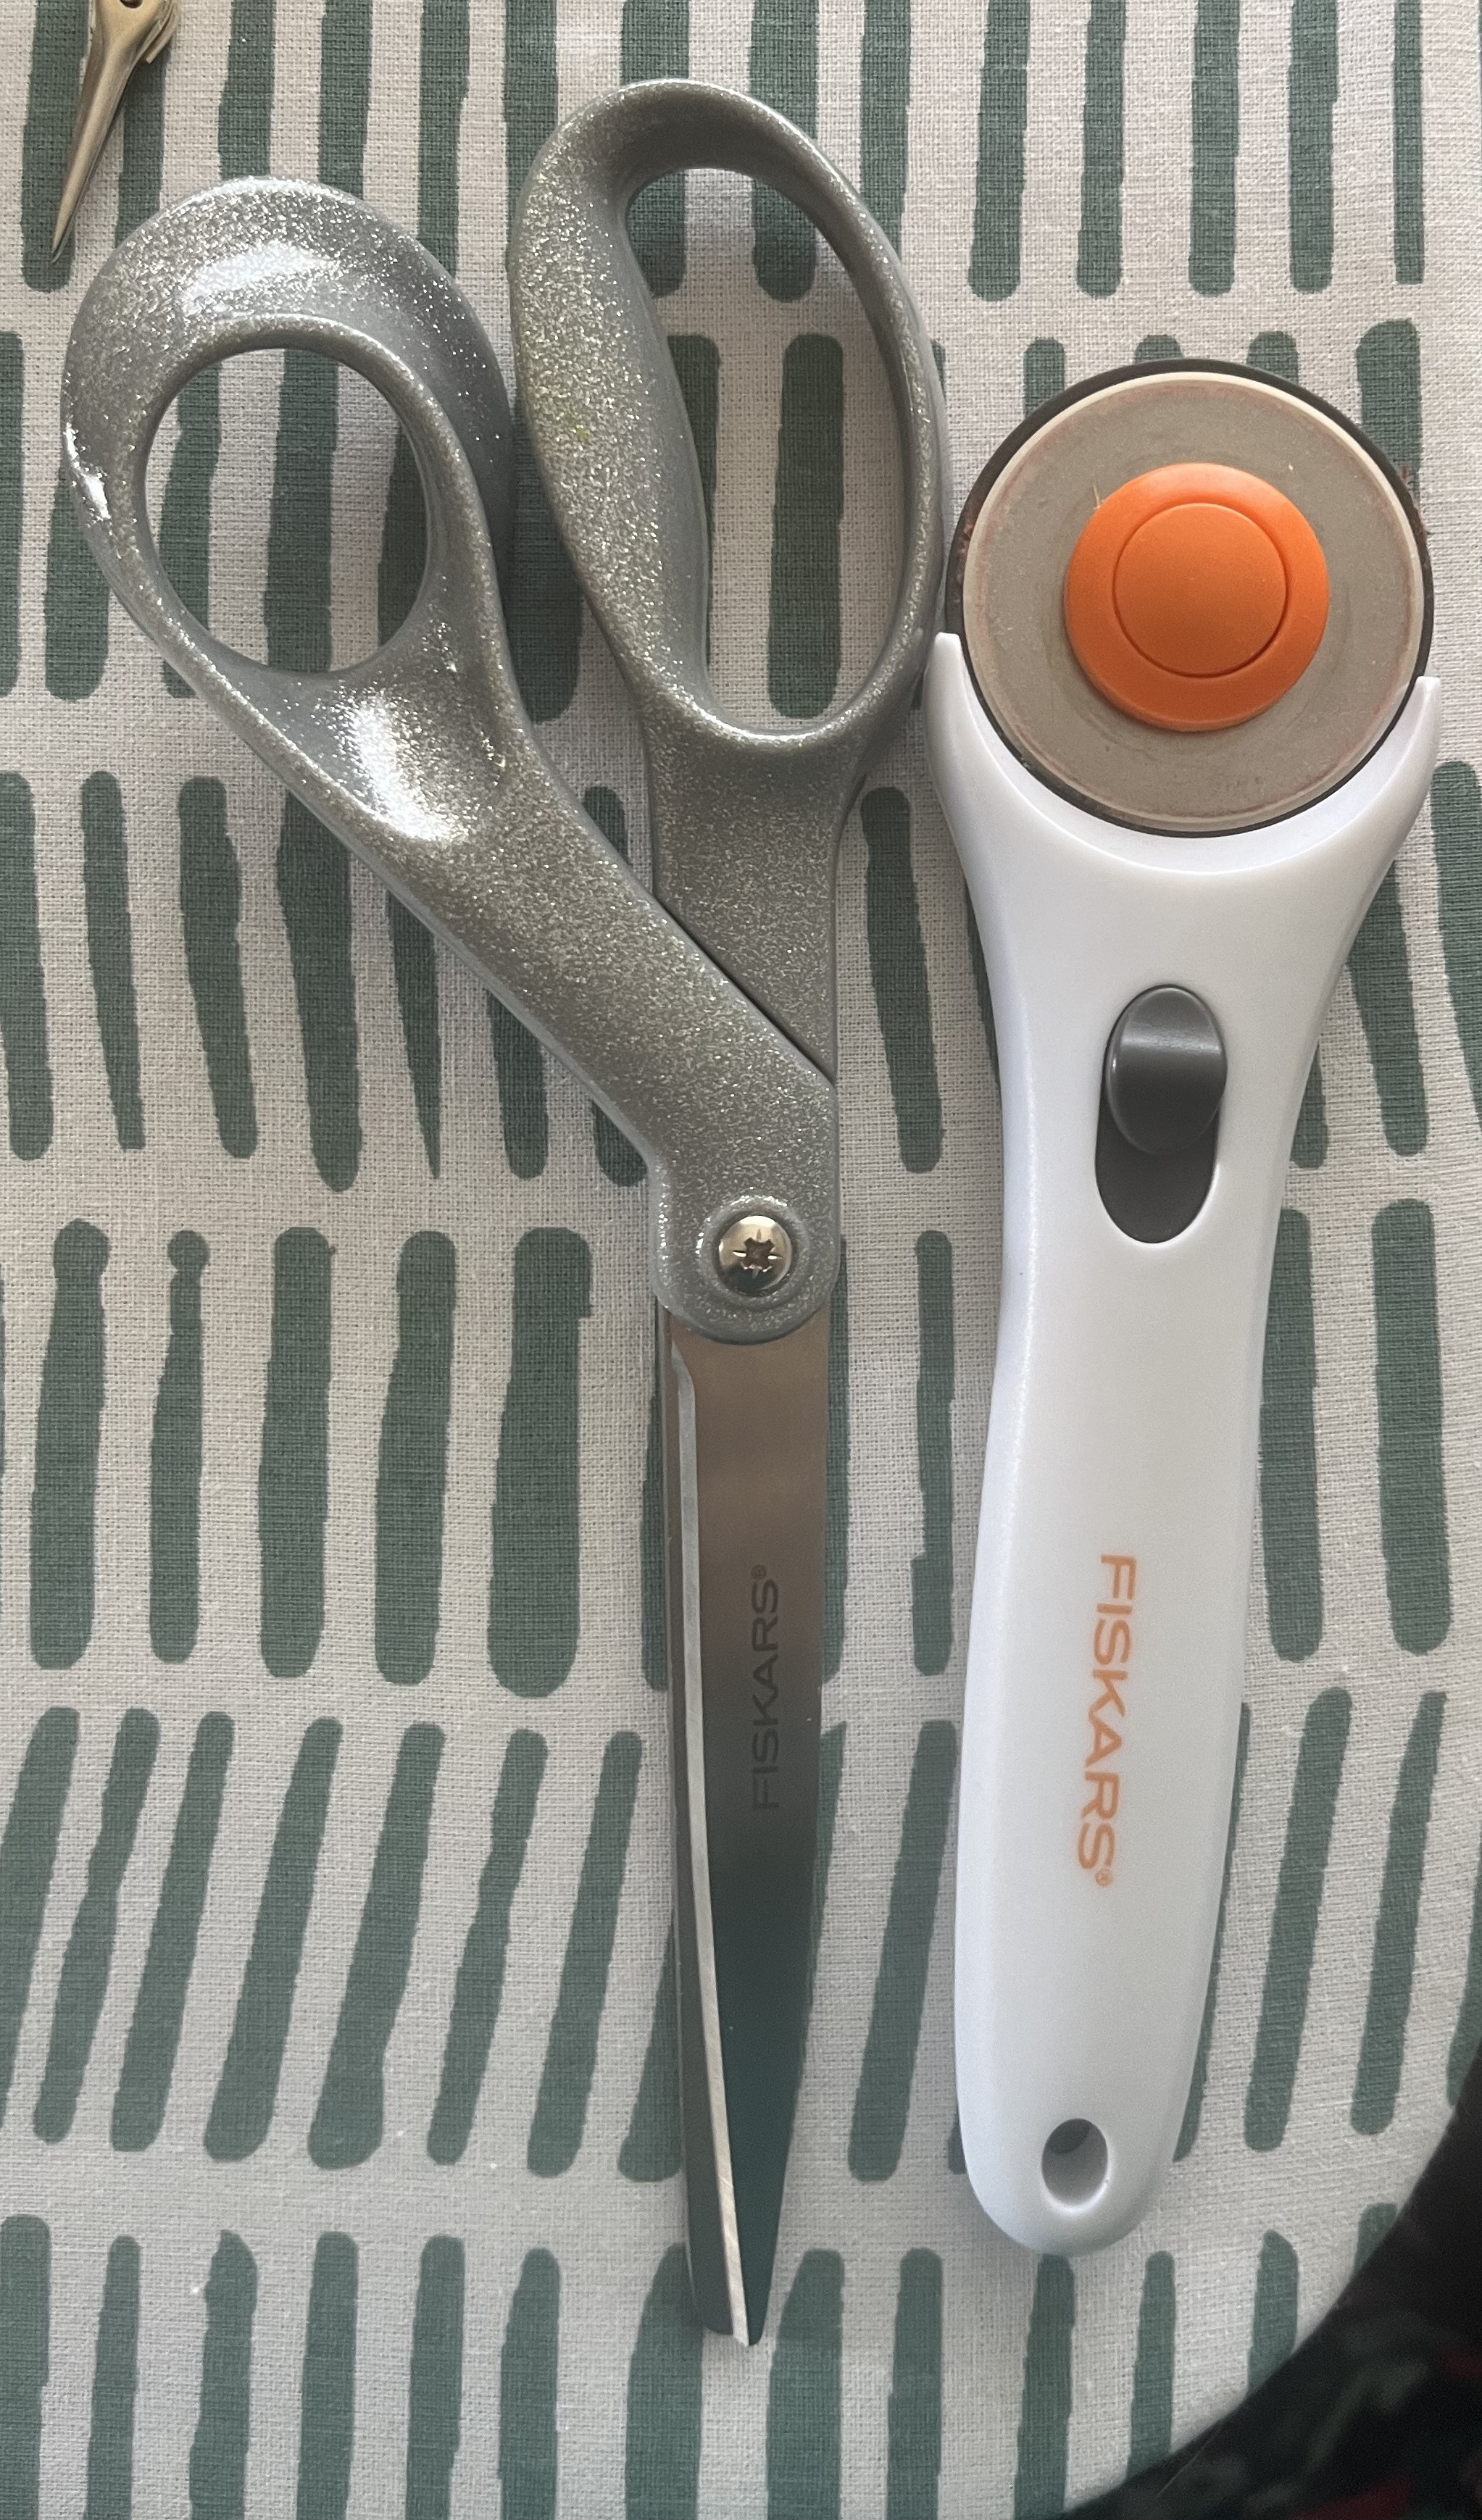
This measuring tool is a lifesaver, especially when doing the hem. The hem will take FOREVER, as the amount of fabric in a double circle skirt is insane. Budget more time than you think to get it done!
Caring for the skirt is easy. Gentle cycle with cold water, tumble dry on low. Hanging to dry will also work. Get comfy using your iron because it definitely needs to be ironed before each wear to look its best!
To conclude, here are my recommendations if you choose to make a robo-skirt of your own. Buy good fabric. The difference between my mockup and the final skirt in the cotton lawn is huge in terms of drape and feel. Maybe don’t use white - this Robo-skirt requires a slip, which I know isn’t everyone’s cup of tea. Don’t follow the pattern blindly when it comes to zippers. Also don’t assume the zipper length you’ve picked for yourself is good - check it! If you’re pressed for time or funds, a full circle skirt is the way to go. (And you’ll be able to find a free pattern for that too!) Embrace your inner Ms. Frizzle.
I had a ton of fun both making and wearing my Robo-skirt. It was an awesome way to signal to others what kind of person I am, and people really seemed to like it! Now I have to think about what I’ll make for next year…